There is an article in Microsoft docs on how to set up the Custom Error page for the Power Apps portal.
You can read about enabling here:
And about setting up your custom design here:
The requirement: set up a Custom Error page for the Power Apps portal. Easy!
First, you go and follow steps in the article above, both.
Second, you want to test a custom layout I’ve just set up. How do you do this?
This is what I did (after a long days trying to figure things out) with the kind help of the Microsoft team, helping me to figure out which errors are covered by “custom errors”.
Let’s break the Access Denied page! Or read the Update section below.
What’s so special about this page and how does it break a portal? You can read my article about it here or can just tell you that it redirects a portal user to the Sign-In page if a user has to be authenticated to access the content(page).
So, make sure you’ve got a portal page with authenticated access. Copy and save that page URL.
Now go to your Site Markers and find the one which point to the Access Denied page.
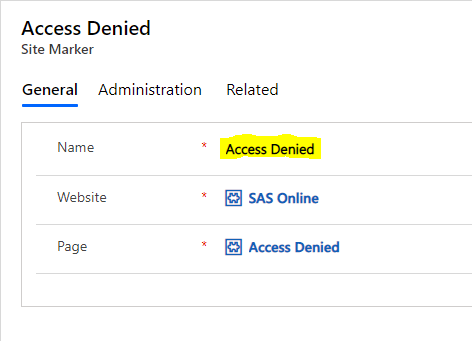
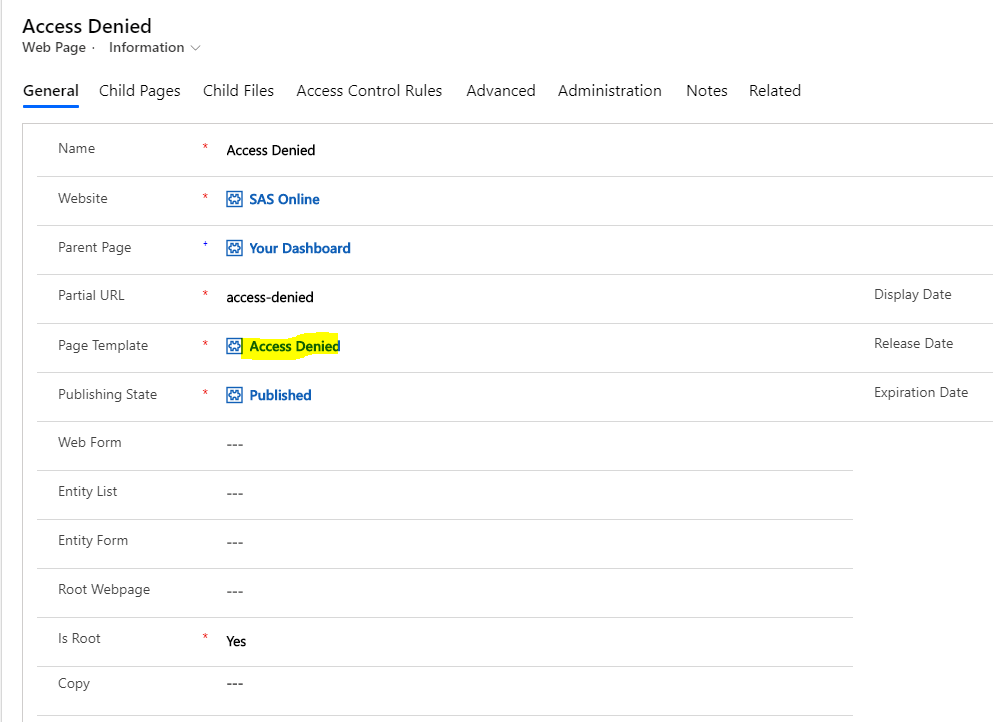
Open the Access Denied page. Change Page Template field to make it point to a Page template instead of Access Denied.
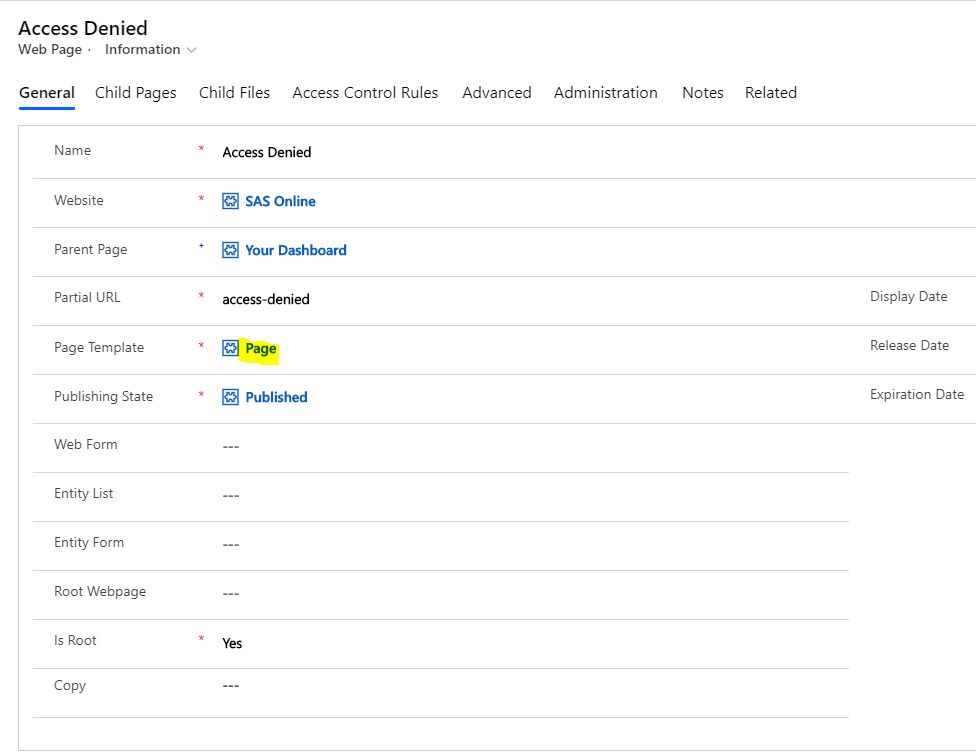
Now, save the changes then clear your portal cache.
Sing Out from the portal then try to access the page which requires authentication to be accessed on your portal. Bingo!
If you haven’t setup a custom design or just added some text to the Portal Generic Error snippet it will look (something) like this:
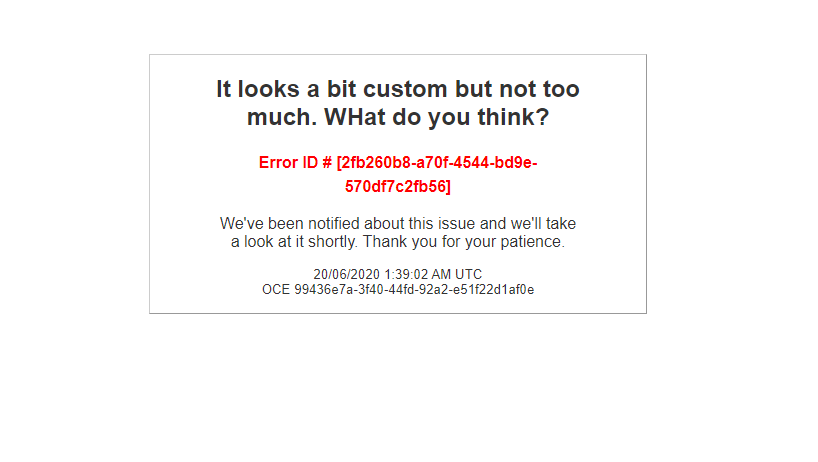
But what if you want something fancy? Then you will end up with something like this:

I highlighted my customised(rubbishly formatted while waiting for my partner’s UI magic) content I put in the snippet.
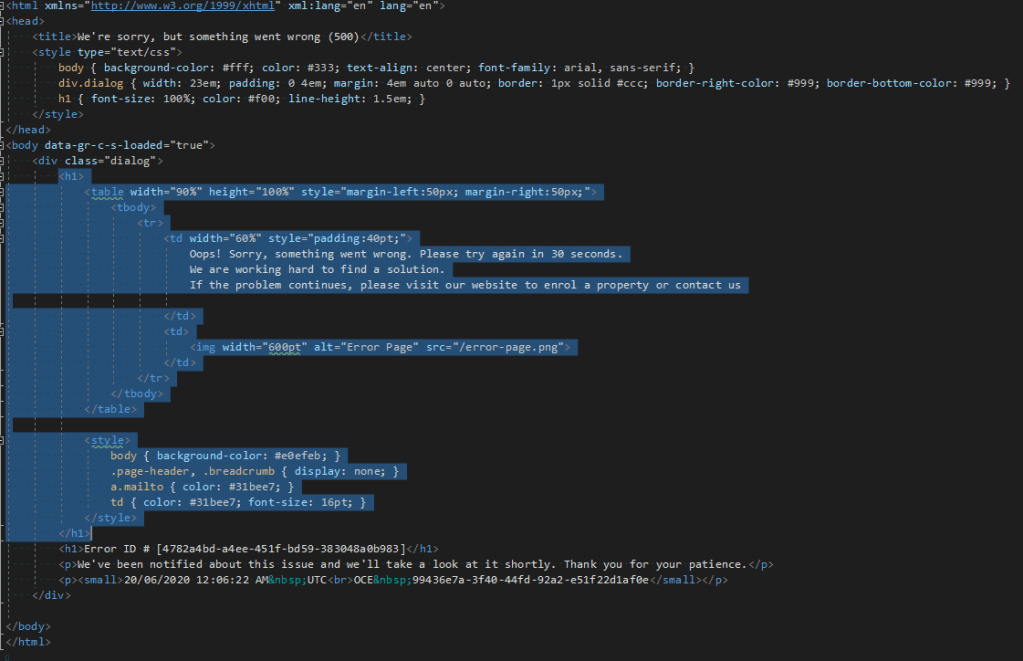
It’s is important to know the initial generated page structure to be able to make changes to the design.
Everything is wrapped in a div.dialog. Then in <h1> tag which wrapping our custom content. I don’t know why. Then Microsoft standard error wrapped in <h1> tag then two <p> tags at the end.
Add something like this to your Portal Generic Error snippet to override the annoying size:
<style> div.dialog{ width:100%;} </style>
And of course, I will be hiding all the standard generated text and messages. You can do it with CSS. But this is all just a routine HTML hacking.
Don’t forget to repair your Access Denied page at the end!
UPDATE Some people told me they couldn’t reproduce the error in the way I did it.
I know the less painful way which was shared with me by Adrian Nguyen, The Support Engineer from Microsoft, and amazing human being.
Go to any of your Portal forms and put a tag into a textbox then submit the form. Like this.
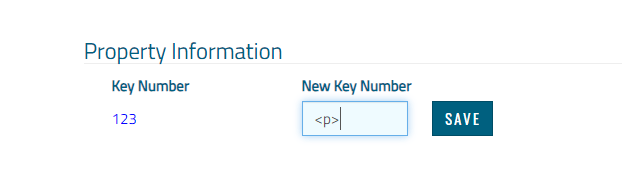
Happy portal development!

Leave a comment