Skip to content

Olena's Dynamics Blog (post-AI)

Writing as a human

  • Home
  • About
  • Contact
  • Videos
  • YanaLiz Blog

recent posts

  • !Importan! This blog is now an archive
  • How to send email receipt from Stripe in Power Pages payments
  • D365 user queue: control which emails are synced. Default to No email messages.
  • Integrate eSignature with Power Pages
  • Power Pages: Upload large files – work in progress

about

#womenintech #mvp #businessapplications #dynamics365 #dynamics365developer #powerplatform #solutionsarchitect #businessapplications #netdveloper #azuredeveloper #lovewhatido #supportwomenintech #blogger #diversity #microsoftdeveloper
  • Twitter
  • Facebook
  • Instagram
  • Power Apps Portal Maintenance: The curious incident of the naughty user.

    Power Apps Portal Maintenance: The curious incident of the naughty user.

    June 28, 2020

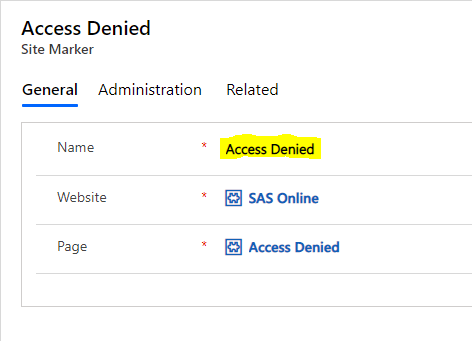
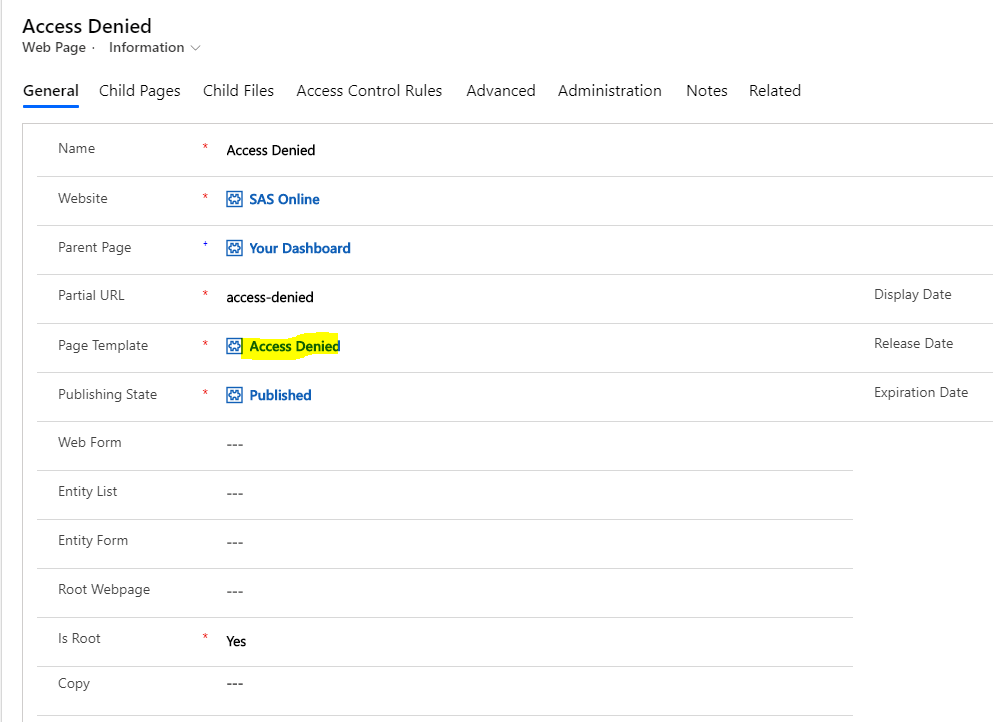
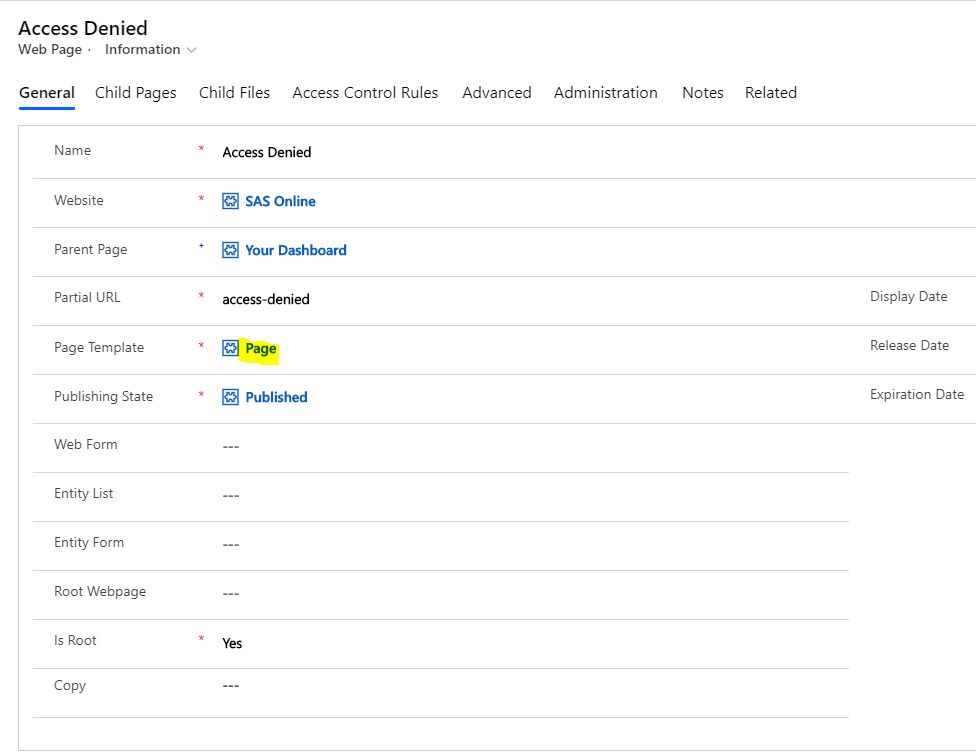
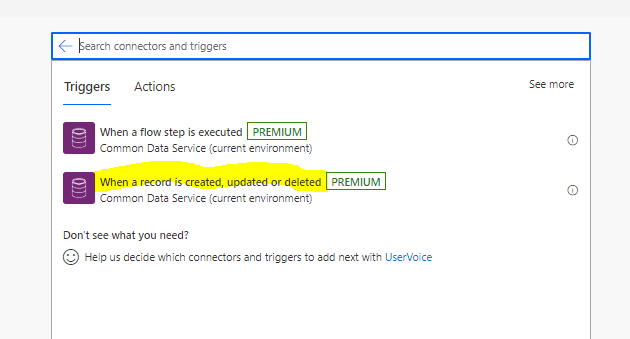
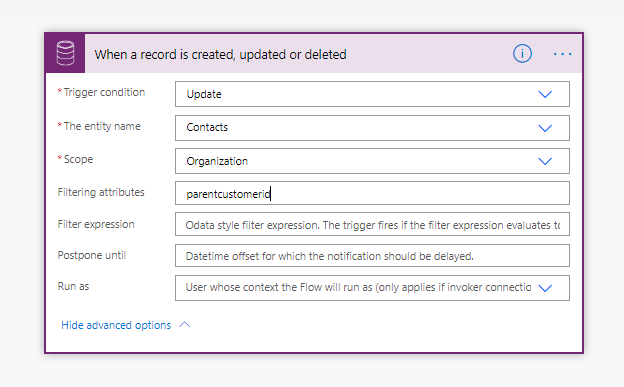
    In the last article here I proposed the design for the custom Maintenance functionality:

    https://msolenacrm.blog/2020/06/20/power-apps-portal-summon-the-custom-error-page-to-test-a-custom-layout/

    After the serious testing we discovered that the solution works, to some extent.

    For the naughty user ignoring our warnings to leave the portal during maintenance, it is possible to stay on the cached web page, go for a coffee while we are rebooting the portal, come back and continue working (submitting forms, editing) as nothing have ever happened.

    Yes, if he refreshes the page or navigates from the page it will redirect him/her/them to the Maintenance page and stop from working. But not if he stays.

    So what do we do?

    We design the maintenance functionality for two phases: a deployment and a smoke testing.

    In general this functionality shouldn’t be required at all. Most if not all of our deployments are seamless and don’t disturb our users. But what if. What if it’s required to go in the deep maintenance mode for couple of hours?

    Let’s have a look at the extended process together!

    • For the deployment phase, where we don’t need to test or anything It usually takes up to 1 hr. We enable the Maintenance mode.
    Power Apps Portal Maintenance mode.
    Enable Maintenance mode.
    Pretty default picture for the Maintenance mode.

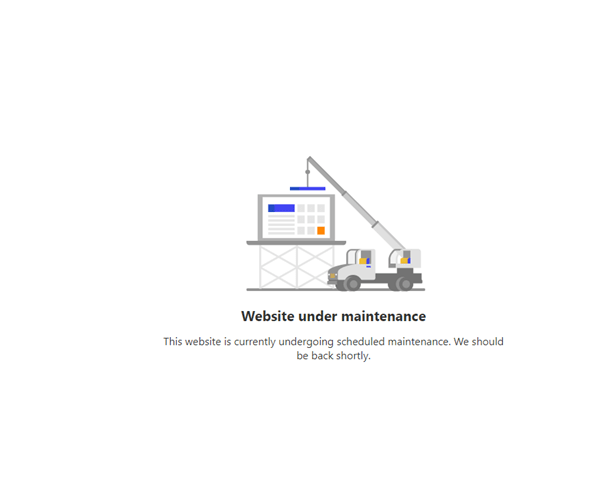
    For the naughty user the whole portal is gone the moment he submits a form. No more playing around!

    • Before enabling it back we switch on a “light maintenance” custom mode which allows us to test and do all checks but stops naughty users from accessing the portal. Because we kicked them out now they have to wait till we finish the deployment, test then let them in.
    • After completing the testing, we switch off the OOB Maintenance mode.
    • Then we disable a custom Maintenance mode.

    This will work for sure! 😀

    Share this:

    • Share on LinkedIn (Opens in new window) LinkedIn
    • Email a link to a friend (Opens in new window) Email
    • Share on X (Opens in new window) X
    • Share on Facebook (Opens in new window) Facebook
    • Share on Telegram (Opens in new window) Telegram
    Like Loading…
  • Power Apps Portal: Summon the Custom Error Page to test a custom layout

    Power Apps Portal: Summon the Custom Error Page to test a custom layout

    June 20, 2020

    There is an article in Microsoft docs on how to set up the Custom Error page for the Power Apps portal.

    You can read about enabling here:

    https://docs.microsoft.com/en-us/powerapps/maker/portals/admin/view-portal-error-log#enable-custom-error

    And about setting up your custom design here:

    https://docs.microsoft.com/en-us/powerapps/maker/portals/admin/view-portal-error-log#display-a-custom-error-message

    The requirement: set up a Custom Error page for the Power Apps portal. Easy!

    First, you go and follow steps in the article above, both.

    Second, you want to test a custom layout I’ve just set up. How do you do this?

    This is what I did (after a long days trying to figure things out) with the kind help of the Microsoft team, helping me to figure out which errors are covered by “custom errors”.

    Let’s break the Access Denied page! Or read the Update section below.

    What’s so special about this page and how does it break a portal? You can read my article about it here or can just tell you that it redirects a portal user to the Sign-In page if a user has to be authenticated to access the content(page).

    So, make sure you’ve got a portal page with authenticated access. Copy and save that page URL.

    Now go to your Site Markers and find the one which point to the Access Denied page.

    Access Denied page Site Marker

    Open the Access Denied page. Change Page Template field to make it point to a Page template instead of Access Denied.

    Access Denied page with Access Denied template.
    Access Denied page with Page page template.

    Now, save the changes then clear your portal cache.

    Sing Out from the portal then try to access the page which requires authentication to be accessed on your portal. Bingo!

    If you haven’t setup a custom design or just added some text to the Portal Generic Error snippet it will look (something) like this:

    Custom Error snippet with a custom text.

    But what if you want something fancy? Then you will end up with something like this:

    Custom Error page with a very custom layout.

    I highlighted my customised(rubbishly formatted while waiting for my partner’s UI magic) content I put in the snippet.

    Custom Error page source code.

    It’s is important to know the initial generated page structure to be able to make changes to the design.

    Everything is wrapped in a div.dialog. Then in <h1> tag which wrapping our custom content. I don’t know why. Then Microsoft standard error wrapped in <h1> tag then two <p> tags at the end.

    Add something like this to your Portal Generic Error snippet to override the annoying size:

    <style> div.dialog{ width:100%;} </style>

    And of course, I will be hiding all the standard generated text and messages. You can do it with CSS. But this is all just a routine HTML hacking.

    Don’t forget to repair your Access Denied page at the end!

    UPDATE Some people told me they couldn’t reproduce the error in the way I did it.

    I know the less painful way which was shared with me by Adrian Nguyen, The Support Engineer from Microsoft, and amazing human being.

    Go to any of your Portal forms and put a tag into a textbox then submit the form. Like this.

    Tag in the textbox.

    Happy portal development!

    Share this:

    • Share on LinkedIn (Opens in new window) LinkedIn
    • Email a link to a friend (Opens in new window) Email
    • Share on X (Opens in new window) X
    • Share on Facebook (Opens in new window) Facebook
    • Share on Telegram (Opens in new window) Telegram
    Like Loading…
  • Power Automate for CDS: “what was it before we run the update?” or “bye,bye, no-code!”

    Power Automate for CDS: “what was it before we run the update?” or “bye,bye, no-code!”

    June 18, 2020

    The requirement: for Account(Property in our case) if related Contact(Tenant) is “un-linked”, create a Note.

    No-code solution: none.

    Why?

    These are triggers available for CDS(current environment):

    CDS current environment triggers

    We choose Update trigger for Contact filtering by parentcustomerid … and this is it.

    This is where our no-code journey ends. When Update triggers on our Contact the value for parentcustomerid will be null. Meaning we can’t attach to the previous parent customer anything because we have no idea what it was before it changed.

    And this is where I created my plugin for the first time in years. It was an exciting experience for another blog post.

    Here is what makes it different and gives us extra functionality to solve the problem with a code.

    Plug-in pre-image

    I created an idea for this issue, please support me if you think it’s cool to have this functionality in Power Automate:

    https://powerusers.microsoft.com/t5/Power-Automate-Ideas/CDS-Update-trigger-Pre-Image-is-required-to-review-field-values/idi-p/582088

    Happy no-coding!

    Share this:

    • Share on LinkedIn (Opens in new window) LinkedIn
    • Email a link to a friend (Opens in new window) Email
    • Share on X (Opens in new window) X
    • Share on Facebook (Opens in new window) Facebook
    • Share on Telegram (Opens in new window) Telegram
    Like Loading…
  • Using Power Automate to trigger on Create or Update in the CDS and make HTTP requests with OAuth 2.0 authentication

    Using Power Automate to trigger on Create or Update in the CDS and make HTTP requests with OAuth 2.0 authentication

    June 17, 2020

    I will tell you in the next post more about my journey designing and implementing B2B integration links for my client. But my today’s big ThankYou goes to this person. “Thank you so much!’

    carinamclaesson's avatarCarina M. Claesson

    In my previous blog post I mentioned that Microsoft Flow has been rebranded to Power Automate. We still create flows though and this week I created a flow. Then I thought to myself, why not share it, perhaps someone might benefit from it and the next thing I knew this blog post was written and ready to be published. In this blog post I will let you in on how to make HTTP requests with a flow, using OAuth 2.0 authentication, i.e. a 2-step authentication. Basically, first you make a request in order to get an access token and then you use that token for your other requests.    

    View original post 1,633 more words

    Share this:

    • Share on LinkedIn (Opens in new window) LinkedIn
    • Email a link to a friend (Opens in new window) Email
    • Share on X (Opens in new window) X
    • Share on Facebook (Opens in new window) Facebook
    • Share on Telegram (Opens in new window) Telegram
    Like Loading…
  • Power Portal: a custom maintenance page

    Power Portal: a custom maintenance page

    June 15, 2020

    Well, there is one: https://docs.microsoft.com/en-us/powerapps/maker/portals/admin/enable-maintenance-mode If OOB one works for you don’t bother reading any further.

    Didn’t work for us because we wanted some flexibility for the dev team and testers to be able to login, check, clear cache etc So the requirement was to display a maintenance page to portal users and make the whole portal look and work as usual for admin users.

    First, we will use OOB web roles to differentiate users. Obviously, we need both types of users to be logged in. With a little bit of an extra effort we could tune a home page design as well but we didn’t bother.

    1. Create a Maintenance page with its own Page template and web template.
    Maintenance web page
    Maintenance Page Template with a reset Use Header.. setting

    Whatever is your web template content doesn’t worry me, it can be anything. You could store whole page there or use Page Copy for some elements. What is critical here is to un-check the Use Website Header and Footer checkbox. We want this page to not include the standard Header web template which is included into any other portal page.

    Why? Because we are planning to inject the Liquid code to perform the extra checks for us.

    2. Create a Site setting IsMaintenance which could be set and reset to flag start and end of the maintenance.

    Site Setting for Maintenance

    3. Next step will be to create a Site Marker:

    Site Marker for Maintenance

    4. OK Let’s modify the Header template! Inject this code into the Header web template:

    {% assign is_admin = user | has_role: 'Administrators' %}
    {% assign maintenanceMarker = sitemarkers['Maintenance'] %}
    {% assign isMaintenance = settings['Maintenance/IsMaintenance'] | boolean %}
    
    {% if user %}
    
    {% if maintenanceMarker %}
      {% if is_admin != true and isMaintenance %}
        <script>window.location.href = "{{maintenanceMarker.url}}";</script>
      {% endif %}
    {% endif %}
    
    {% endif %}

    {% assign is_admin = user | has_role: ‘Administrators’ %} – we check if user is Admin or not

    {% assign maintenanceMarker = sitemarkers[‘Maintenance’] %} – fetching the Maintenance marker (page URL)

    {% assign isMaintenance = settings[‘Maintenance/IsMaintenance’] | boolean %} – are we in the Maintenance mode?

    {% if user %} – if we aren’t user … not sure why I added it. Try to remove and see if it’s working still

    {% if maintenanceMarker %}
    {% if is_admin != true and isMaintenance %}
    <script>window.location.href = “{{maintenanceMarker.url}}”;</script>

    {% endif %}
    {% endif %}
    – a true black magic to redirect to the Maintenance page.

    5. It’s more for you and your testers…when it redirects to the page you are still logged in. So if you want to log out to check the other scenario, you have to type the following in your browser search: <your-portal-root>/Account/Login/LogOff?returnUrl=%2F

    It will log you out.

    You can use the Advertisement functionality to warn your users about a scheduled maintenance in advance: https://docs.microsoft.com/en-us/powerapps/maker/portals/configure/create-run-advertisement

    Maintenance image

    Share this:

    • Share on LinkedIn (Opens in new window) LinkedIn
    • Email a link to a friend (Opens in new window) Email
    • Share on X (Opens in new window) X
    • Share on Facebook (Opens in new window) Facebook
    • Share on Telegram (Opens in new window) Telegram
    Like Loading…
Previous Page Next Page

Create a website or blog at WordPress.com


Loading Comments...
 

    • Subscribe Subscribed
      • Olena's Dynamics Blog (post-AI)
      • Join 60 other subscribers
      • Already have a WordPress.com account? Log in now.
      • Olena's Dynamics Blog (post-AI)
      • Subscribe Subscribed
      • Sign up
      • Log in
      • Report this content
      • View site in Reader
      • Manage subscriptions
      • Collapse this bar
    %d