• Santa’s “Ho Ho Ho” message to welcome  good 😀 Makers (Managed Environments)

    Extending a warm welcome to the Makers starting on the environment is a wonderful idea, especially as Christmas is approaching. We won’t miss the opportunity to send them some heartfelt greetings.

    It’s very easy to do for Managed Environments. If you are not familiar with the concept, this is the idea:

    Managed Environments is a suite of premium capabilities that allows admins to manage Power Platform at scale with more control, less effort, and more insights. Admins can use Managed Environments with any type of environment. Certain features can be configured upon enabling a Managed Environment. Once an environment is managed, it unlocks additional features across the Power Platform.

    Microsoft docos

    So we like to display “Maker welcome content” for the Makers. How do we do this?

    If you are like me, not believing in reading docos😈, you won’t go here to read this: https://learn.microsoft.com/en-gb/power-platform/admin/welcome-content

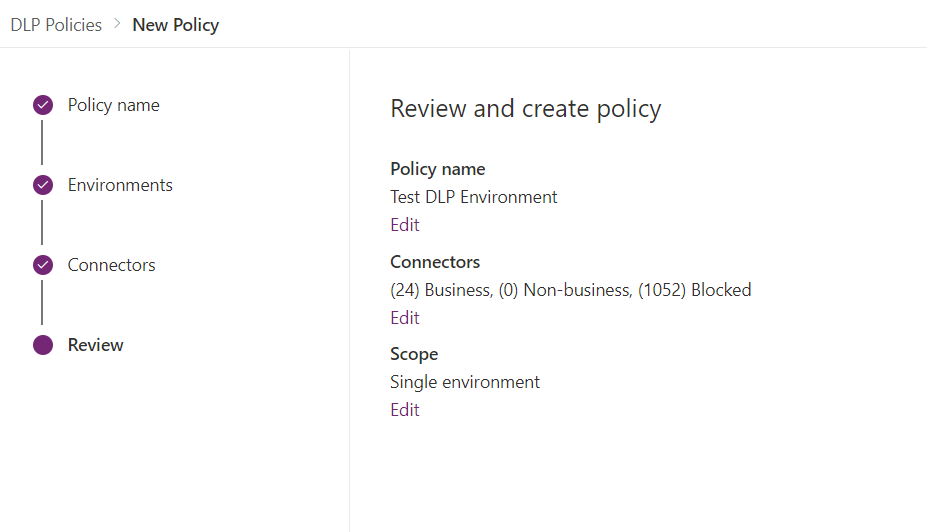
    You will go straightaway to the Managed Environment settings.

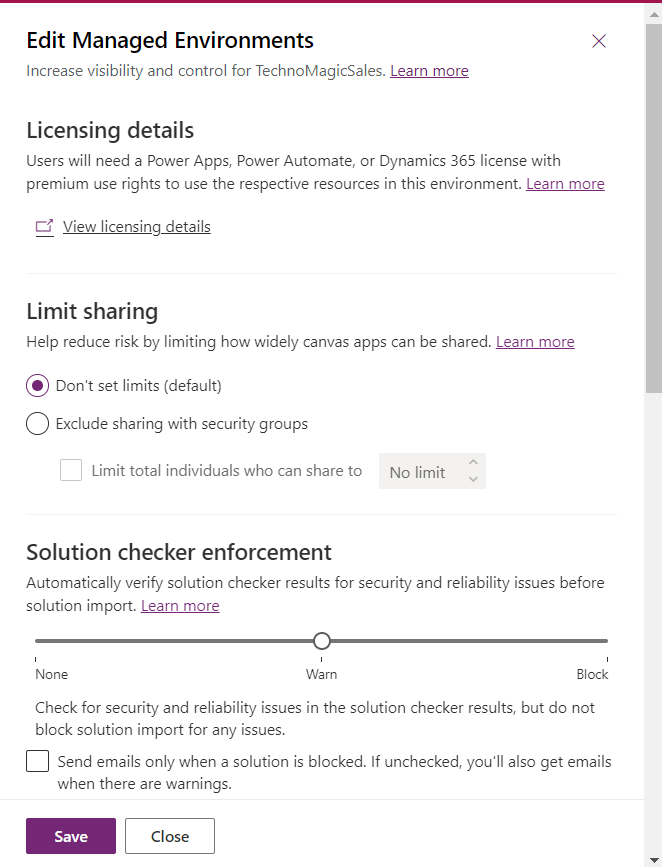
    Where you will see this. A plain textbox for the message!

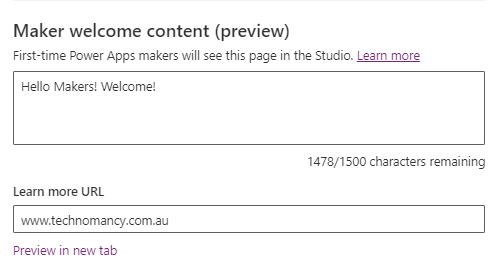
    What do we do with it?! How do I make it look awesome for my Makers?!

    You may even start crying like I did. But wait for it.

    Some Christmas magic is about to happen to us 🪄. (But only to the Makers who’s been good this year 😉

    Bad news – you can’t use HTML to make your message look pretty. Good news…

    …You can use Markdown!

    WTF is Markdown?

    Here: https://www.markdownguide.org/getting-started/#what-is-markdown

    Markdown is a lightweight markup language that you can use to add formatting elements to plaintext text documents. Created by John Gruber in 2004, Markdown is now one of the world’s most popular markup languages.
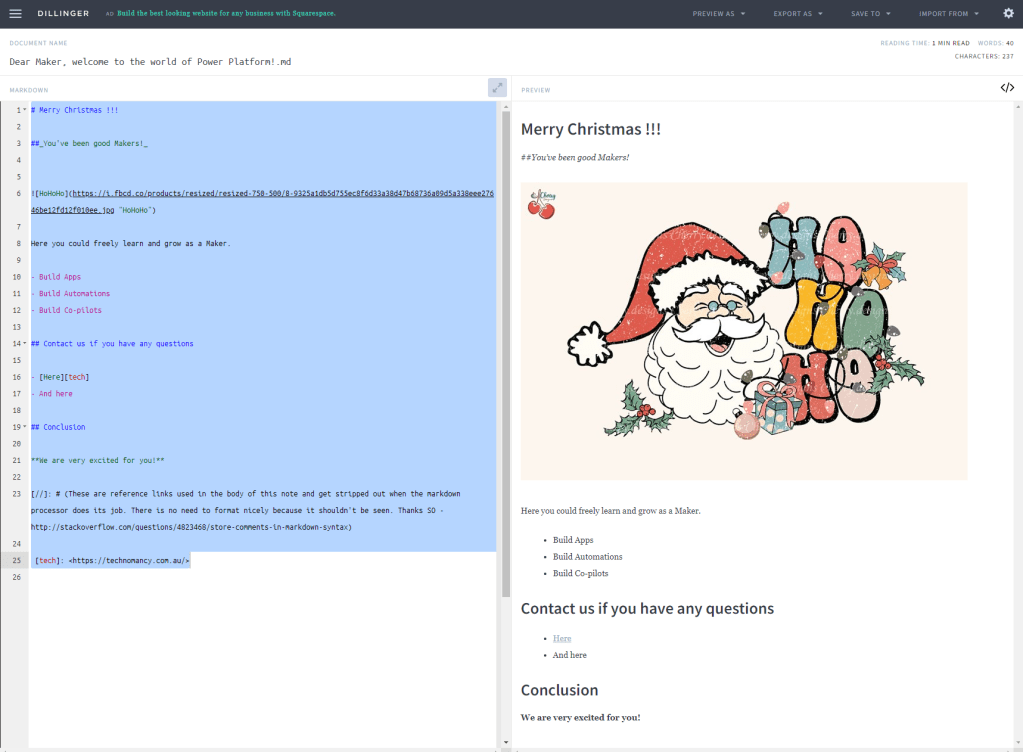
    Editor

    Basic syntax: https://www.markdownguide.org/basic-syntax/

    Santa Welcome Message (Markdown)

    # Merry Christmas !!! 

    ##_You've been good Makers!_


    ![HoHoHo](https://i.fbcd.co/products/resized/resized-750-500/8-9325a1db5d755ec8f6d33a38d47b68736a09d5a338eee27646be12fd12f010ee.jpg "HoHoHo")

    Here you could freely learn and grow as a Maker.

    - Build Apps
    - Build Automations
    - Build Co-pilots

    ## Contact us if you have any questions

    - [Here][tech]
    - And here

    ## Conclusion

    **We are very excited for you!**

    [//]: # (These are reference links used in the body of this note and get stripped out when the markdown processor does its job. There is no need to format nicely because it shouldn't be seen. Thanks SO - http://stackoverflow.com/questions/4823468/store-comments-in-markdown-syntax)

    [tech]: <https://technomancy.com.au/>

    How do I test it?

    This is an awesome editor for you to test the results of your creativity!

    https://dillinger.io/

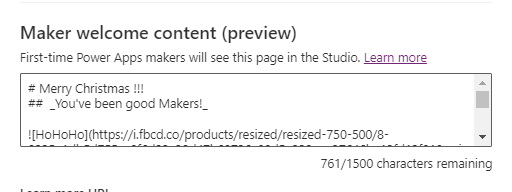
    Now we will copy the code to the “plain” textbox in the settings.

    Clicking on Preview in new tab…Awesome!

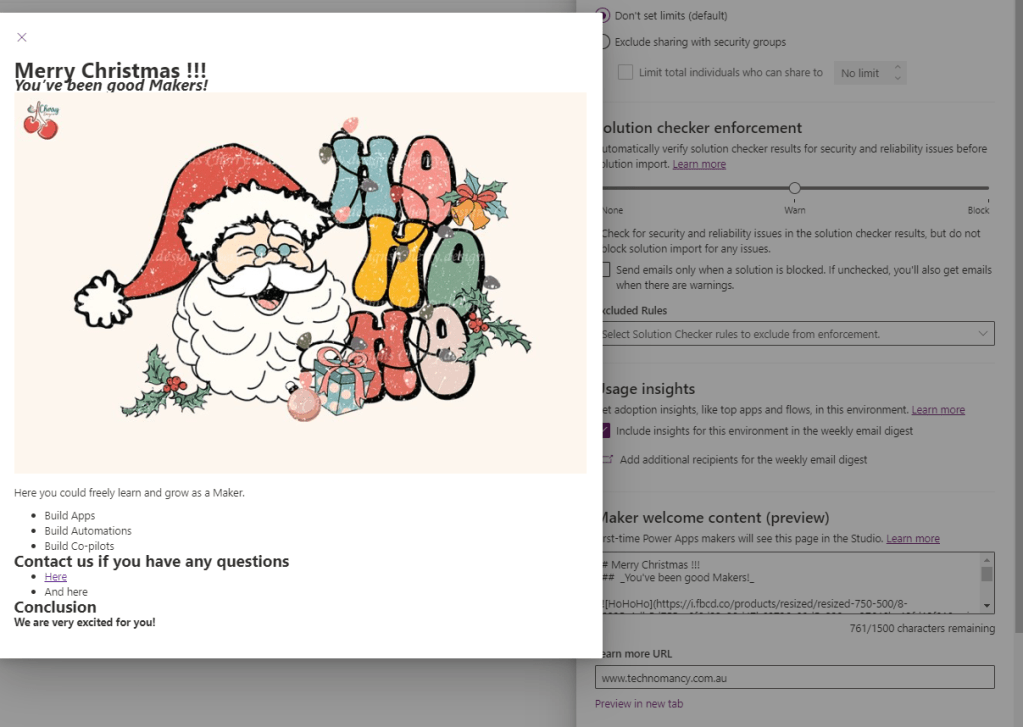
    And this is what our Makers will see when they enter the Maker portal on their environment:
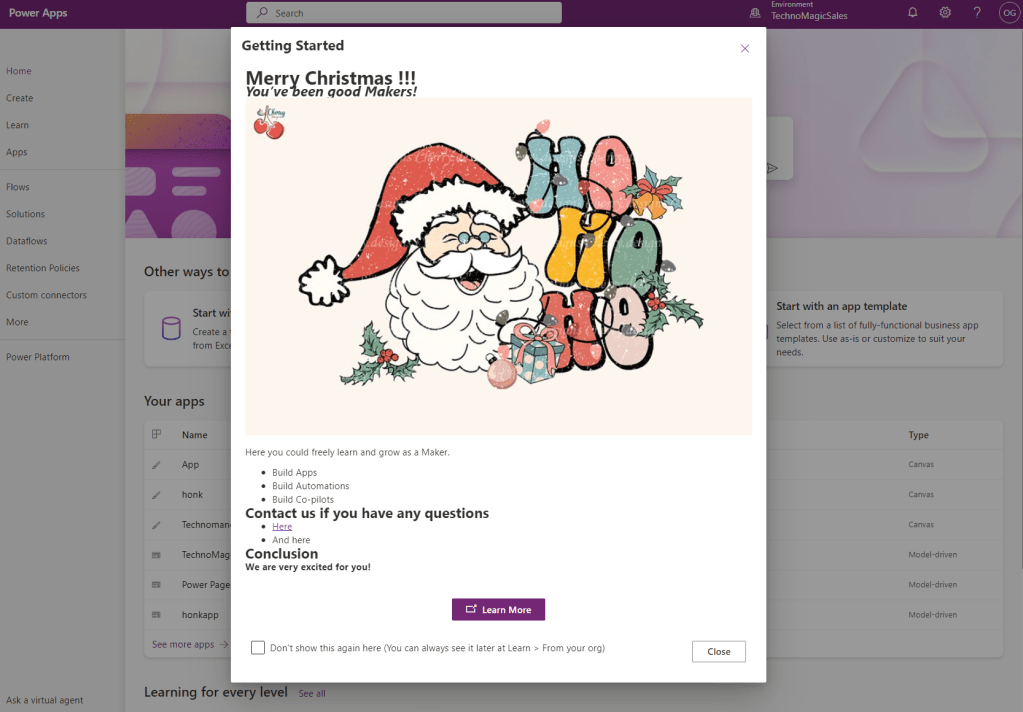
    Christmas Miracle 🎅

    (OMG, now ChatGPT has stolen the joy of using emojis How could you?! 😡)

    (This content is original and generated by a human)

  • CoE Starter Kit: Efficient Testing Strategy for Inactivity Processes – Admin Simulations for Maker Clean-Up Approvals

    As a Power Platform Admin, I would like to efficiently test the CoE Starter Kit Inactivity Processes, so I understand how it works and confirm it meets my requirements without spamming users and makers.

    Olena

    Introduction

    During our initial setup of the CoE Starter Kit, we encountered difficulties in finding a way to disable notifications and automatic emails. Despite configuring some Exchange rules and disabling Flows, we inadvertently activated certain processes that sent notifications to users.

    We ended up testing some of the amazing processes without being aware of it, which turned out fine as they were well-received by users. We also successfully cleaned up some old jobs and apps, which is also good. However, I would prefer to undertake such actions deliberately and consciously if given the opportunity.

    Therefore, I am sharing this article with you to provide an opportunity to get things right on the first attempt.

    Set up inactivity processes

    This link below will help you to set up the inactivity notifications for unused canvas apps and cloud flows, and for how to clean up unused connection references.

    You use this functionality to detect unused objects, and ask makers to either archive or unshare them to keep your tenant tidy:

    https://learn.microsoft.com/en-us/power-platform/guidance/coe/setup-archive-components

    Watch a walk-through of how the inactivity process works. Or read an awesome article here: https://learn.microsoft.com/en-us/power-platform/guidance/coe/governance-components#inactivity-processes

    Testing it first

    As the processes send notifications to ALL RELEVANT APP AND FLOW MAKERS, it could be a bit overwhelming if your organization’s Power Platform adoption is progressing exceptionally well.

    Playing It Safe

    You don’t know what you don’t know. There is a text in the article pointing in the right direction. However, it could be easily missed as it looks like this:

    Customize: By default, this flow assigns approvals to the flow owner. In order to test in a debug environment, in which you don’t want to involve users, you can update the ProductionEnvironment environment variable to No, and the approvals are sent to the admin account instead.”

    So, there is an environment variable ProductionEnvironment which must be set up to No for the non-production testing.

    I tried to edit it via the CoE Admin Command Center but it didn’t work so I went to the Default solution. It could be because I am a bit behind with my CoE Toolkit upgrade.

    I changed a Current Value to No.

    Another Issue

    It almost worked. 😊 I started getting the following messages to my Inbox:

    Why? The answer is here: https://github.com/microsoft/coe-starter-kit/issues/4936

    “The most common reason people see this is because your CoE environment is secured with an environment security group.
    Please see Grant makers environment access. If the approval can’t be send to the maker, the account you set on the Individual Admin environment variable will receive the above emails.”

    There is another variable which needs to be set, Individual Admin. Mine was set to a user who didn’t have the appropriate access. I set it to the Power Platform Admin user to make sure notifications are coming to me.

    As a result of the set up above, after re-running the Flows I’ve got the Approval notifications.

    This is the correct way to test CoE Toolkit Inactivity process notifications for a non-production environment!

    Who would have thought?!

  • Power Pages payments with Stripe (ft. CloudMinded)
  • Modify Microsoft Entra ID Connector (Standard) to meet your security requirements

    Some time ago I wrote the post: https://wordpress.com/post/msolenacrm.blog/4767

    In the post, I was talking about the standard Microsoft connector not meeting my client’s security requirements. Pretty much, I was blocked and searching for a solution.

    The only “security appropriate” solution was a custom connector but I didn’t know where to start. I asked my partner to investigate the issue and let me know if we could make a custom connector work the way all the requirements are addressed.

    The license consideration

    A custom connector requires a Premium Power Automate license.

    The Solution

    The work he has done is documented here. You MUST read his blog first then come back here for more details.

    To summarise the article, we take the foundation for our connector from the standard Microsoft Entra ID connector but modify a thing or two in the source code to make it work for the particular security requirements.

    We are going to use source code files to highlight the differences from the original implementation:

    https://github.com/andrew-grischenko/azure-groups-limited-connector

    Now let’s jump to the requirements!

    Requirement 1. We need it to work in the application context, not a delegated user context. Therefore, we need authentication to utilize Client ID and Secret instead of user login and password.

    How do we do it?

    Let’s modify the apiProperties.json file to include a new section (search in the file for “Service Principal” to find the section on the screenshot below:

    A deployment note

    Please make sure you go to the Security section when the connector is deployed to enter Client ID, Tenant ID, and Secret then Update the connector.

    Requirement 2. We need to limit the connector scope as only a subset of action is required. All the additional actions need extra permissions, we don’t want that.

    For this, we do two things:

    we delete all unnecessary actions from the apiDefinition.swagger.json file. These are the actions we are keeping:

    we update the scope anywhere it is mentioned in the files apiDefinition.swagger.json or apiProperties.json to only include Group.ReadWrite.All, GroupMember.ReadWrite.All like in the code below:

    "security": [
    {
    "oauth2-auth": [
    "Group.ReadWrite.All",
    "GroupMember.ReadWrite.All",
    "offline_access"
    ]
    }
    ]

    The last but not the least…

    Requirement 3. We need to extend the Create Security Group action definition to include members and owners to be added to the group as one step.

    Awesome! How do we do that?

    We use a different method!

    The original JSON code for “/v1.0/groups/securityGroup” parameters:

    "parameters": [
    {
    "name": "body",
    "in": "body",
    "required": true,
    "schema": {
    "type": "object",
    "required": [
    "displayName",
    "description",
    "mailNickname",
    "securityEnabled",
    "mailEnabled"
    ],
    "properties": {
    "displayName": {
    "x-ms-summary": "Display Name",
    "type": "string",
    "description": "Display name of the new group."
    },
    "description": {
    "x-ms-summary": "Description",
    "type": "string",
    "description": "Description of the new group."
    },
    "mailNickname": {
    "description": "The mail alias of the new group.",
    "type": "string",
    "x-ms-summary": "Mail Nickname"
    },
    "securityEnabled": {
    "description": "True if the new group is a security group.",
    "type": "boolean",
    "x-ms-summary": "Security Enabled"
    },
    "mailEnabled": {
    "description": "True if the new group is a mailing group.",
    "type": "boolean",
    "x-ms-summary": "Mail Enabled"
    }
    },
    "x-ms-test-value": {
    "description": "A group for development",
    "displayName": "Test 530930",
    "mailEnabled": true,
    "mailNickname": "Test-Mail-Group-530930",
    "securityEnabled": false
    }
    }
    }
    ],

    The modified one for Create Security Group will use “/v1.0/groups” with the parameters, including owners and members:

    "parameters": [
    {
    "name": "body",
    "in": "body",
    "required": true,
    "schema": {
    "type": "object",
    "properties": {
    "displayName": {
    "type": "string",
    "title": "Display name",
    "description": "Display name",
    "x-ms-visibility": "important"
    },
    "description": {
    "type": "string",
    "title": "Description",
    "description": "Description",
    "x-ms-visibility": "important"
    },
    "mailEnabled": {
    "type": "boolean",
    "title": "Mail enabled",
    "description": "Mail enabled",
    "enum": [
    true,
    false
    ],
    "default": false,
    "x-ms-visibility": "internal"
    },
    "mailNickname": {
    "type": "string",
    "title": "Mail nickname",
    "description": "Mail nickname",
    "x-ms-visibility": "internal",
    "default": "none"
    },
    "securityEnabled": {
    "type": "boolean",
    "title": "Security enabled",
    "description": "Security enabled",
    "enum": [
    true,
    false
    ],
    "default": true,
    "x-ms-visibility": "internal"
    },
    "owners@odata.bind": {
    "type": "array",
    "items": {
    "type": "string",
    "title": "Group owners",
    "description": "Group owners",
    "x-ms-visibility": "important"
    },
    "description": "Group owners"
    },
    "members@odata.bind": {
    "type": "array",
    "items": {
    "type": "string",
    "description": "Group members",
    "title": "Group members",
    "x-ms-visibility": "important"
    },
    "description": "Group members"
    }
    },
    "required": [
    "owners@odata.bind",
    "description",
    "securityEnabled",
    "mailEnabled",
    "displayName",
    "mailNickname"
    ]
    }
    }
    ],

    Simple and genius!

    The conclusion

    Sometimes with the standard connectors, you feel trapped and forced to make the wrong for your organization choices because “this is how Power Platform works”.

    It’s not true. You always have a choice to get it right even if it requires a little bit of effort.

    This post wouldn’t be possible without the work and influence of two great minds: Andrew Grischenko(https://www.linkedin.com/in/grischenko) and Zisis Kozlakidis(https://www.linkedin.com/in/zisis-kozlakidis/). You help me to search for better answers.

  • As a System Administrator, I would like to create a DLP policy for my environment(s) so I can help protect data in my organization

    If you are a Power Platform admin, you can find the relevant information in the following Microsoft article: https://learn.microsoft.com/en-us/power-platform/admin/create-dlp-policy

    Unfortunately, it’s not clear from the article how to create a DLP policy as a System Administrator managing just one or multiple environments and not having a Power Platform admin role and superpowers.

    This is how it works for a System administrator who is not a Power Platform admin.

    As a System admin, I go to the Power Platform Admin center (https://admin.powerplatform.microsoft.com/dlp):

    Here I can see tenant-level policies but I can’t edit them.

    I click on the New Policy button to launch the wizard:

    The experience is slightly different from the tenant admin experience.

    On the Environments step I could only see my environments, multiple of them (if I manage multiple) but I can only create a policy for one environment at a time.

    Now I can assign/classify connectors. It also says something about custom connectors in the message at the top but I don’t see it’s working maybe because I have no custom connectors on my environment. So will test this later.

    And now I can save it.

    As you can see my policy is listed under Data policies with the scope Environment.

    At last, I have a valid question: can I view, edit, or delete the policy as a Power Platform admin?

    And the answer is Yes. As it should be.

    Important !!!

    You can’t overwrite the tenant-level policies set up by a Power Platform admin via setting up an environment-level policy if your environment is included in the tenant policy scope.

    The environment policy will work “your way” if your environment is excluded from the tenant-level DPL policy.

    Otherwise – Happy days!